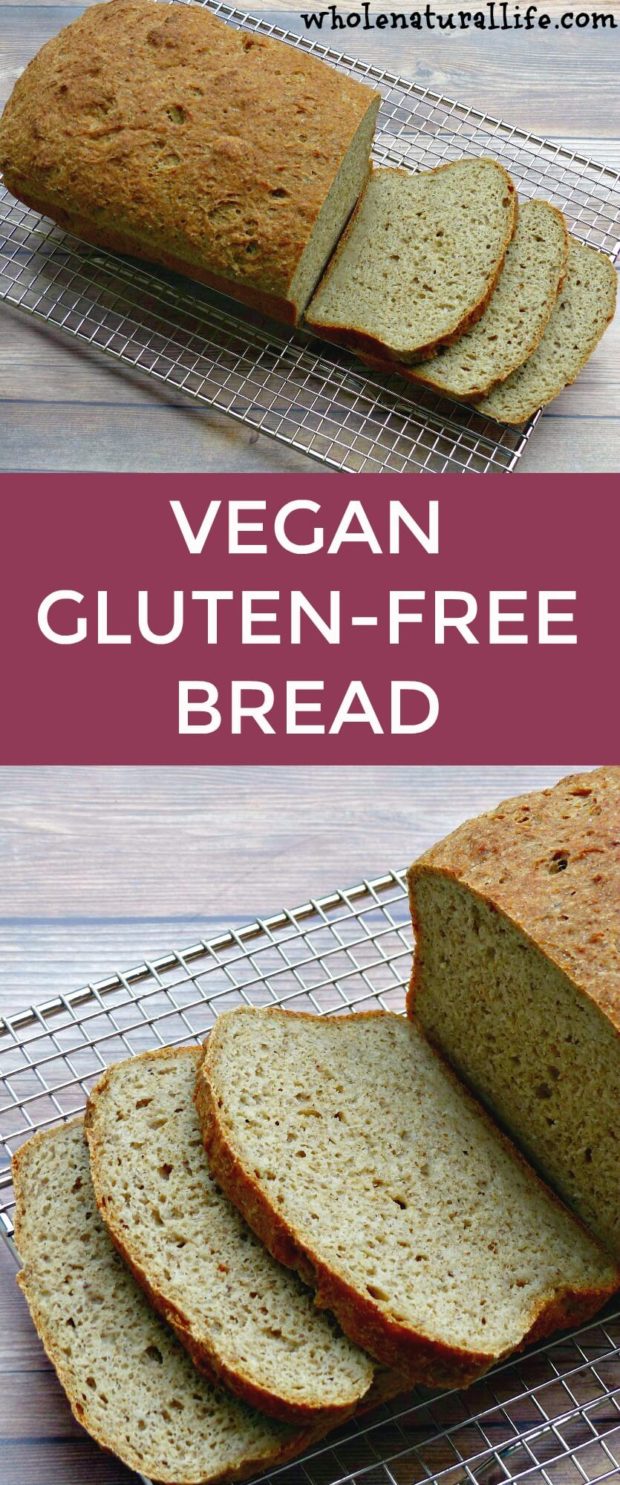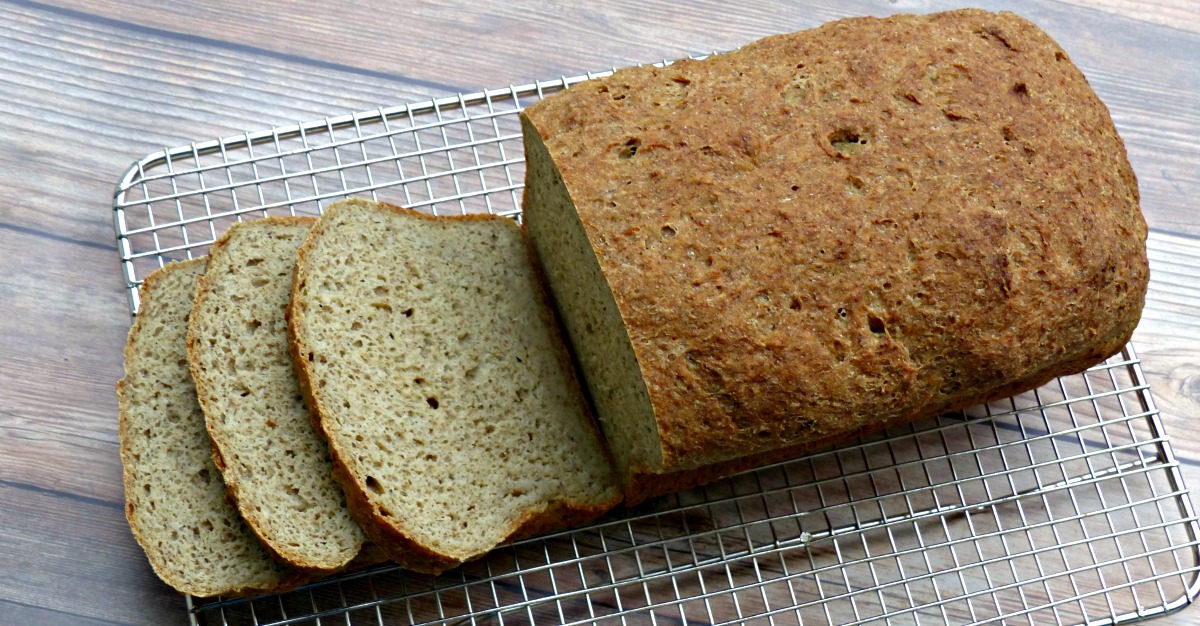
Since I became gluten-free more than six years ago, I’ve been on the search for the perfect homemade gluten-free bread. This search became much harder when I discovered that I also can’t eat eggs. The vast majority of gluten-free breads contain eggs, so a vegan gluten-free bread is a tall order.
Several months ago I stumbled upon this recipe for gluten-free, gum-free, and vegan sandwich bread from Cradle Rocking Mama. I made her recipe (with a couple modifications) and was instantly in love. Finally, an awesome homemade vegan gluten-free bread recipe!
I’ve since made this recipe many, many times. The original recipe is too fiddly for my tastes, so I’ve streamlined it, making the process easier and requiring less hands-on time. I also added an extra rise, since I found that I got inconsistent results with only one rise. The resulting directions may look complicated, but they’re really not. I just added as much detail as I could so you could benefit from my experience.
I haven’t eaten regular wheat bread in many years, but this is one of the best gluten-free breads I’ve ever eaten. It’s soft yet sturdy and has a rich, full flavor. It makes great toast, sandwiches, and probably most other things you’d like to do with bread. 🙂
Notes on the Recipe
I prefer to eat my grains sprouted when I can, so this recipe uses sprouted millet and sprouted sorghum flour. If you don’t want to use sprouted flour, you can substitute regular millet and sorghum flour.
We are not vegan in my house, so I usually make this bread with honey instead of maple syrup. Feel free to use whatever you prefer–both work just as well.
I find grinding the chia seeds to be the most annoying part of this recipe. If you get into the habit of making this bread regularly, I recommend grinding a cup or two at a time so that you’ll have extras in the fridge the next time you want to make bread.
The original recipe calls for proofing your yeast. I’ve found that this is not necessary. It IS, however, essential that you use active yeast. If you’re not sure whether your yeast is active or not, you can proof it beforehand to make sure.
Equipment You’ll Need
Electric mixer (I use an old Kitchenaid)
Medium mixing bowl
9″ x 5″ metal loaf pan
Spatula
Parchment paper
Cooling rack
Ingredients
- 1 cup sprouted millet flour
- 1 cup sprouted sorghum flour
- 1/2 cup tapioca starch
- 1/2 cup almond flour
- 1 1/2 teaspoons salt
- 2 tablespoons olive oil
- 2 tablespoons maple syrup (or honey, if you're not vegan)
- 2 1/4 teaspoons active dry yeast
- 1/3 cup ground chia seeds
- 1/3 cup whole psyllium husks
- 2 1/2 cups warm water (about 110 degrees)
Instructions
- If your chia seeds are whole, grind them in a blender until finely ground. (If you start making this bread regularly, I recommend grinding a cup or two at once so you don't have to do this step every time.) Make sure you measure the chia seeds after grinding them, instead of before, as the volume changes after grinding.
- Add ground chia seeds and psyllium husks to a medium mixing bowl. Add warm water and briefly stir, so that no dry chia or psyllium is left floating on the top of the water. Allow to sit and thicken while you assemble the rest of the ingredients.
- Add millet flour, sorghum flour, tapioca starch, almond flour, salt, olive oil, maple syrup/honey, and yeast to the bowl of your electric mixer. Using your regular beater (not your dough hook), mix briefly, then add thickened chia/psyllium mixture.
- Continue mixing at medium speed until all ingredients are well mixed and there are no pockets of chia/psyllium. Scrape dough off your beater.
- Allow dough to rise in your electric mixer bowl until it's roughly doubled in size. How long this takes will depend on the warmth of your kitchen. When I made this the other day, it took about an hour and fifteen minutes to rise; my kitchen was probably around 65-68 degrees. Just keep on eye on your dough and check in on it occasionally.
- After your dough has approximately doubled in size, use a spatula to punch it down, compressing out as much air as you can.
- Line a loaf pan with parchment paper. Press your dough into the loaf pan. I like to mainly do this with my spatula, as the dough tends to stick to your hands.
- Squish your dough into the pan as much as possible, and use your spatula to smooth out top as much as you can. Cosmetic imperfections in the dough tend to stick around even after baking.
- Preheat your oven to 400 degrees.
- Allow dough to rise again until it's about an inch above the edge of the pan. Again, how long this takes will vary depending on the warmth of your kitchen. It took about fifteen minutes when I made it last time.
- Transfer bread to oven and bake for 40 to 45 minutes, until the internal temperature of the bread is at least 190 degrees.
- Remove bread from oven and transfer to cooling rack to cool.
- I usually wait for the bread to mostly cool before cutting. (In my experience gluten-free bread tends to need to cool down before cutting in order to maintain structural integrity.)
- I store my finished bread in a plastic bag in the fridge. (A container would work, too, I just don't have one that's big enough.) If you think you are going to eat your bread within a few days, I'd imagine you could store it on the counter instead. I just don't want to need to worry about my bread molding, so I opt for the fridge.
STANDARD FTC DISCLOSURE: In order for me to support my blogging activities, I may receive monetary compensation or other types of remuneration for my endorsement, recommendation, testimonial and/or link to any products or services from this blog. Please note, I only ever endorse products that are in alignment with Whole Natural Life’s ideals and I believe would be of value to my readers. Please also note that Whole Natural Life is a participant in the Amazon Services LLC Associates Program, an affiliate advertising program designed to provide a means for sites to earn advertising fees by advertising and linking to amazon.com.

 Save Recipe


14 Responses to Vegan Gluten-free Bread