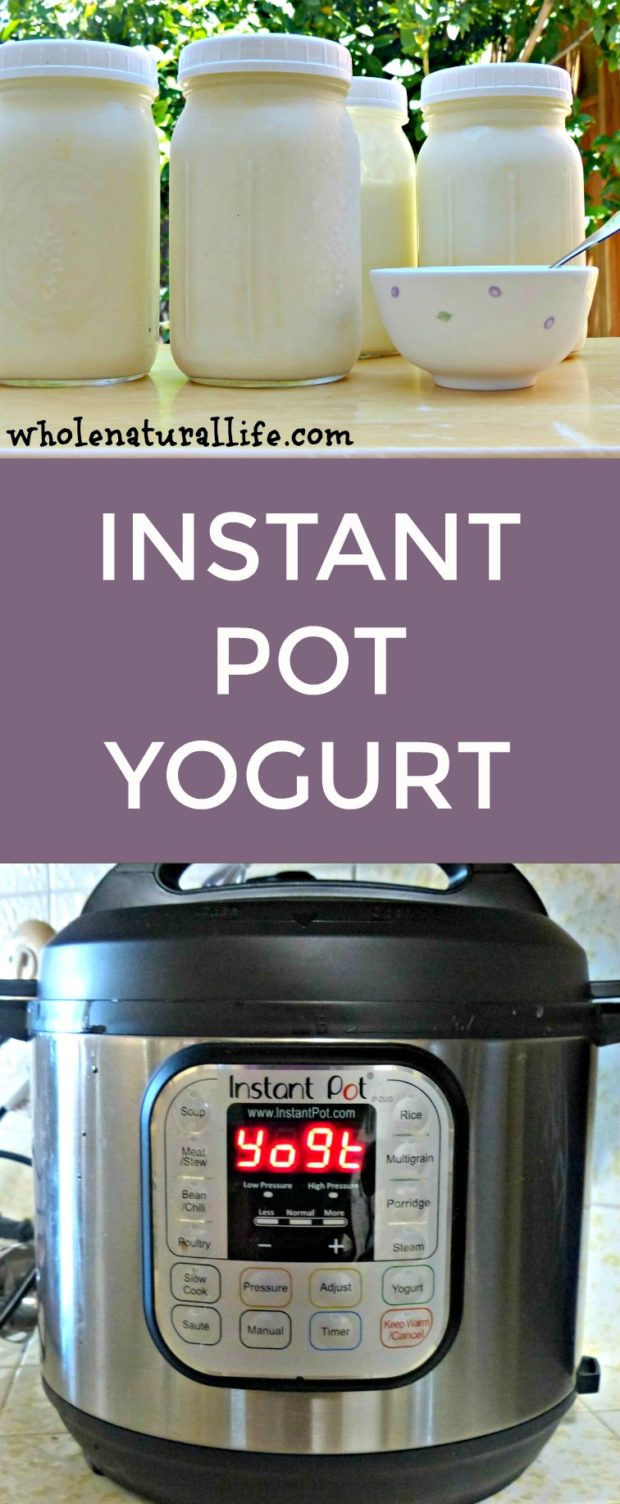
Are you on the Instant Pot bandwagon yet? 🙂 If you are, have you tried making yogurt in your Instant Pot?
If you haven’t, you should! Instant Pot Yogurt is great.
I’ve made homemade yogurt several different ways over the last few years, and homemade Instant Pot yogurt is hands-down my favorite method. There’s very little babysitting involved, and the Instant Pot does a great job of maintaining the temperature for 24 hours, which is something I need since I make 24 hour lactose-free yogurt.
If you don’t own an Instant Pot, you should look into getting one. It’s a programmable electric pressure cooker that also works as a rice cooker, slow cooker, yogurt maker and a few other things.
You can make amazing, quick meals in the Instant Pot, although I mostly love it for making things like rice, beans and chicken broth. Because of the pressure cooking function, cooking all of these foods in my Instant Pot is WAY faster than doing it on the stovetop.
I own this Instant Pot.
Why Make Your Own Yogurt?
Anyway, back to yogurt. You may be wondering why it’s worth it to make your own yogurt.
Personally I have a few different reasons.
For one, I can make lactose-free yogurt by culturing my yogurt for 24 hours. I’m lactose intolerant, and can’t eat most commercial yogurt because it’s not cultured for long enough to get rid of all the lactose.
Secondly, I like that I have total control over the type of milk that I use. I like to make my yogurt with organic, grass-fed, whole milk. That type of yogurt is pretty rare in grocery stores.
(Throw in the fact that it has to be lactose-free and I’m not sure it even exists.)
You may have a different preference for your yogurt, which is fine because you get to choose whatever milk you want to use.
Finally, making your own yogurt usually saves you a significant amount of money over buying commercial yogurt.
Choosing a Yogurt Starter
Homemade yogurt requires a yogurt starter, a blend of bacteria that you add to your milk during the culturing period.
You have two main options for yogurt starters: a commercial powdered starter or a small amount of pre-made yogurt, either from storebought yogurt or from a previous batch of homemade yogurt.
I like to use this powdered starter for my Instant Pot yogurt.
For me, this is mostly due to convenience. I don’t regularly buy storebought yogurt, and in order to use your own yogurt as a starter for the next batch, you need to be making a new batch of yogurt about every week.
In this season of my life, I prefer not to be saddled by any more responsibility than I already have. 🙂 Instead, I make a big batch of yogurt and then just make another batch when we run out, which is usually more like once every three or four weeks.
If you prefer to use a small amount of yogurt as your starter, you can use any type of commercial yogurt that contains live and active cultures.
If you’re committed to trying to use your own homemade yogurt as a starter for each new batch, I’d recommend seeking out a special type of heirloom or reusable yogurt to use as a starter. These yogurts can be used to start new batches indefinitely, as long as you’re consistently making new yogurt every week.
For this type of yogurt, I’d recommend purchasing this starter culture from Cultures for Health. I’ve never bought yogurt starter from them before, but I’ve been happy with their milk kefir and water kefir grains and I’m sure they do a great job with yogurt, too.
How to Make Instant Pot Yogurt
Recipe Notes
In addition to your Instant Pot, the other required piece of equipment you need is a thermometer, to ensure that you’re adding the yogurt starter at the correct temperature. I use this basic thermometer.
I like to make a gallon of yogurt at a time. If you don’t want to make this much, you could easily halve the recipe to make only a half gallon. All of the steps will be the same, although it will take less time for your milk to boil and then cool off.
I prefer to use grass-fed whole milk for my yogurt because this type of milk is the most nutrient-dense. You, however, can use whatever type of milk you prefer.
You will need some containers to store your yogurt in after it’s finished culturing. I like using wide mouth quart jars. Four of them are perfect for storing a gallon of yogurt.
 Save Recipe
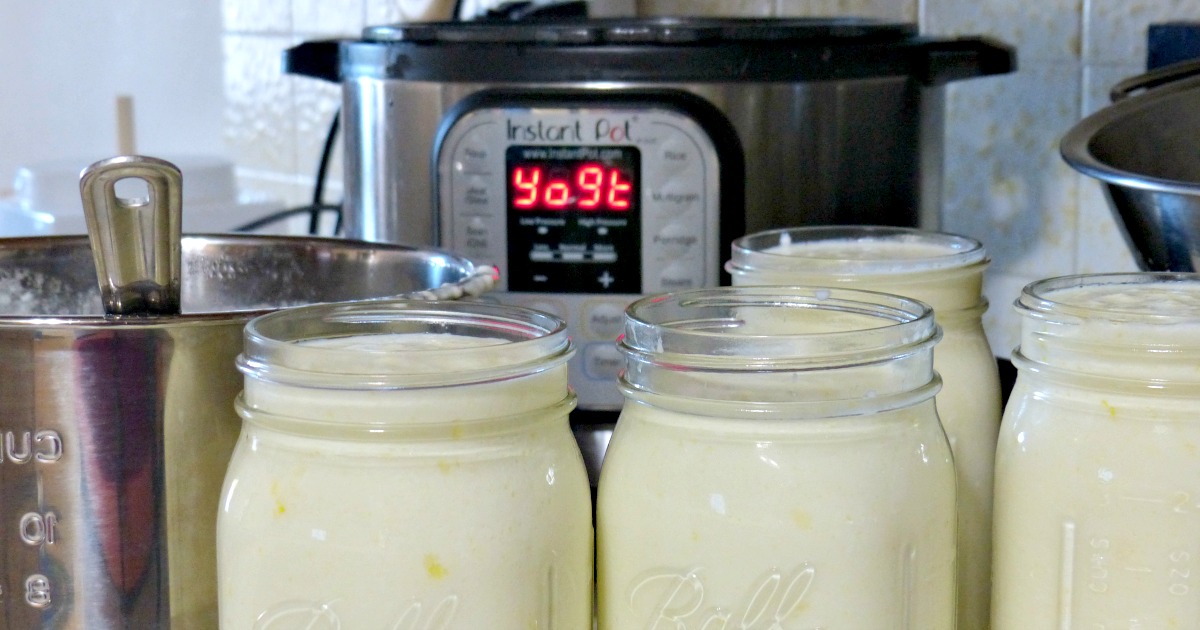
Ingredients
- 1 gallon of milk (I like to use whole, grass-fed milk, but you can use whatever milk you prefer)
- Yogurt starter, either powdered starter (I use this one) or 1/4 cup storebought or homemade yogurt from previous batch
Instructions
- First you need to sterilize your Instant Pot. Add 1-2 cups of water to your Instant Pot. Turn the steam release handle to sealed, hit the steam button and set the time for 1 minute.
- Your Instant Pot will take a few minutes to come to pressure and then will steam the water for one minute. Once it beeps at you that it's done, do a quick release to release the pressure. After the steam has stopped releasing, open the lid and dump out the water.
- Add your gallon of milk to the Instant Pot. Turn the steam release handle to sealed. Hit the yogurt button and push the adjust button until the displays says "boil."
- The Instant Pot will now boil your milk. This usually takes about 45 minutes for me, but may take a little longer or shorter for you.
- After the milk has boiled, your Instant Pot will beep and the display will read “yogt.”
- You now need to cool your milk down to 110 degrees. In my opinion, this is the only semi-annoying part of the process. Take the lid off your Instant Pot and remove the pot to somewhere on your counter. Stick a liquid thermometer into the pot so you can keep an eye on the temperature. (I use this simple thermometer.)
- To speed up the cooling process, you can wrap some ice packs around the pot and periodically stir your milk. Cooling the milk usually takes a couple hours for me, but it may take longer or shorter for you.
- Once your milk has cooled to about 110 degrees, add your yogurt starter. (If you're using a powdered starter (I use this one), follow quantity directions on the box.) Stirring continuously, slowly add your yogurt starter to your milk. Make sure that the starter is thoroughly and evenly mixed throughout the milk.
- Return your pot to the Instant Pot and put the lid back on. Hit the yogurt button again and then hit the adjust button until it displays a number. This is the number of hours that your yogurt will culture. You can use the “+” and “-” buttons to adjust how long you want your yogurt to culture. Jesse and I are both lactose intolerant, so I ferment my yogurt for 24 hours in order to make a lactose-free yogurt. If you do not have lactose issues, you can ferment your yogurt for a shorter amount of time. I'd suggest starting with 8 hours and then experimenting with longer times if you desire.
- After you’ve selected the number of hours, your Instant Pot will beep and then display 0:00. It will then start counting up as it cultures.
- When your yogurt is done culturing, the Instant Pot will beep a final time and then display “yogt.” You can now transfer your yogurt to your preferred storage containers. I like to put my gallon of yogurt into four wide mouth quart jars.
- Store finished yogurt in the fridge. It should keep for several weeks.
Looking for More Fermented Foods Recipes?
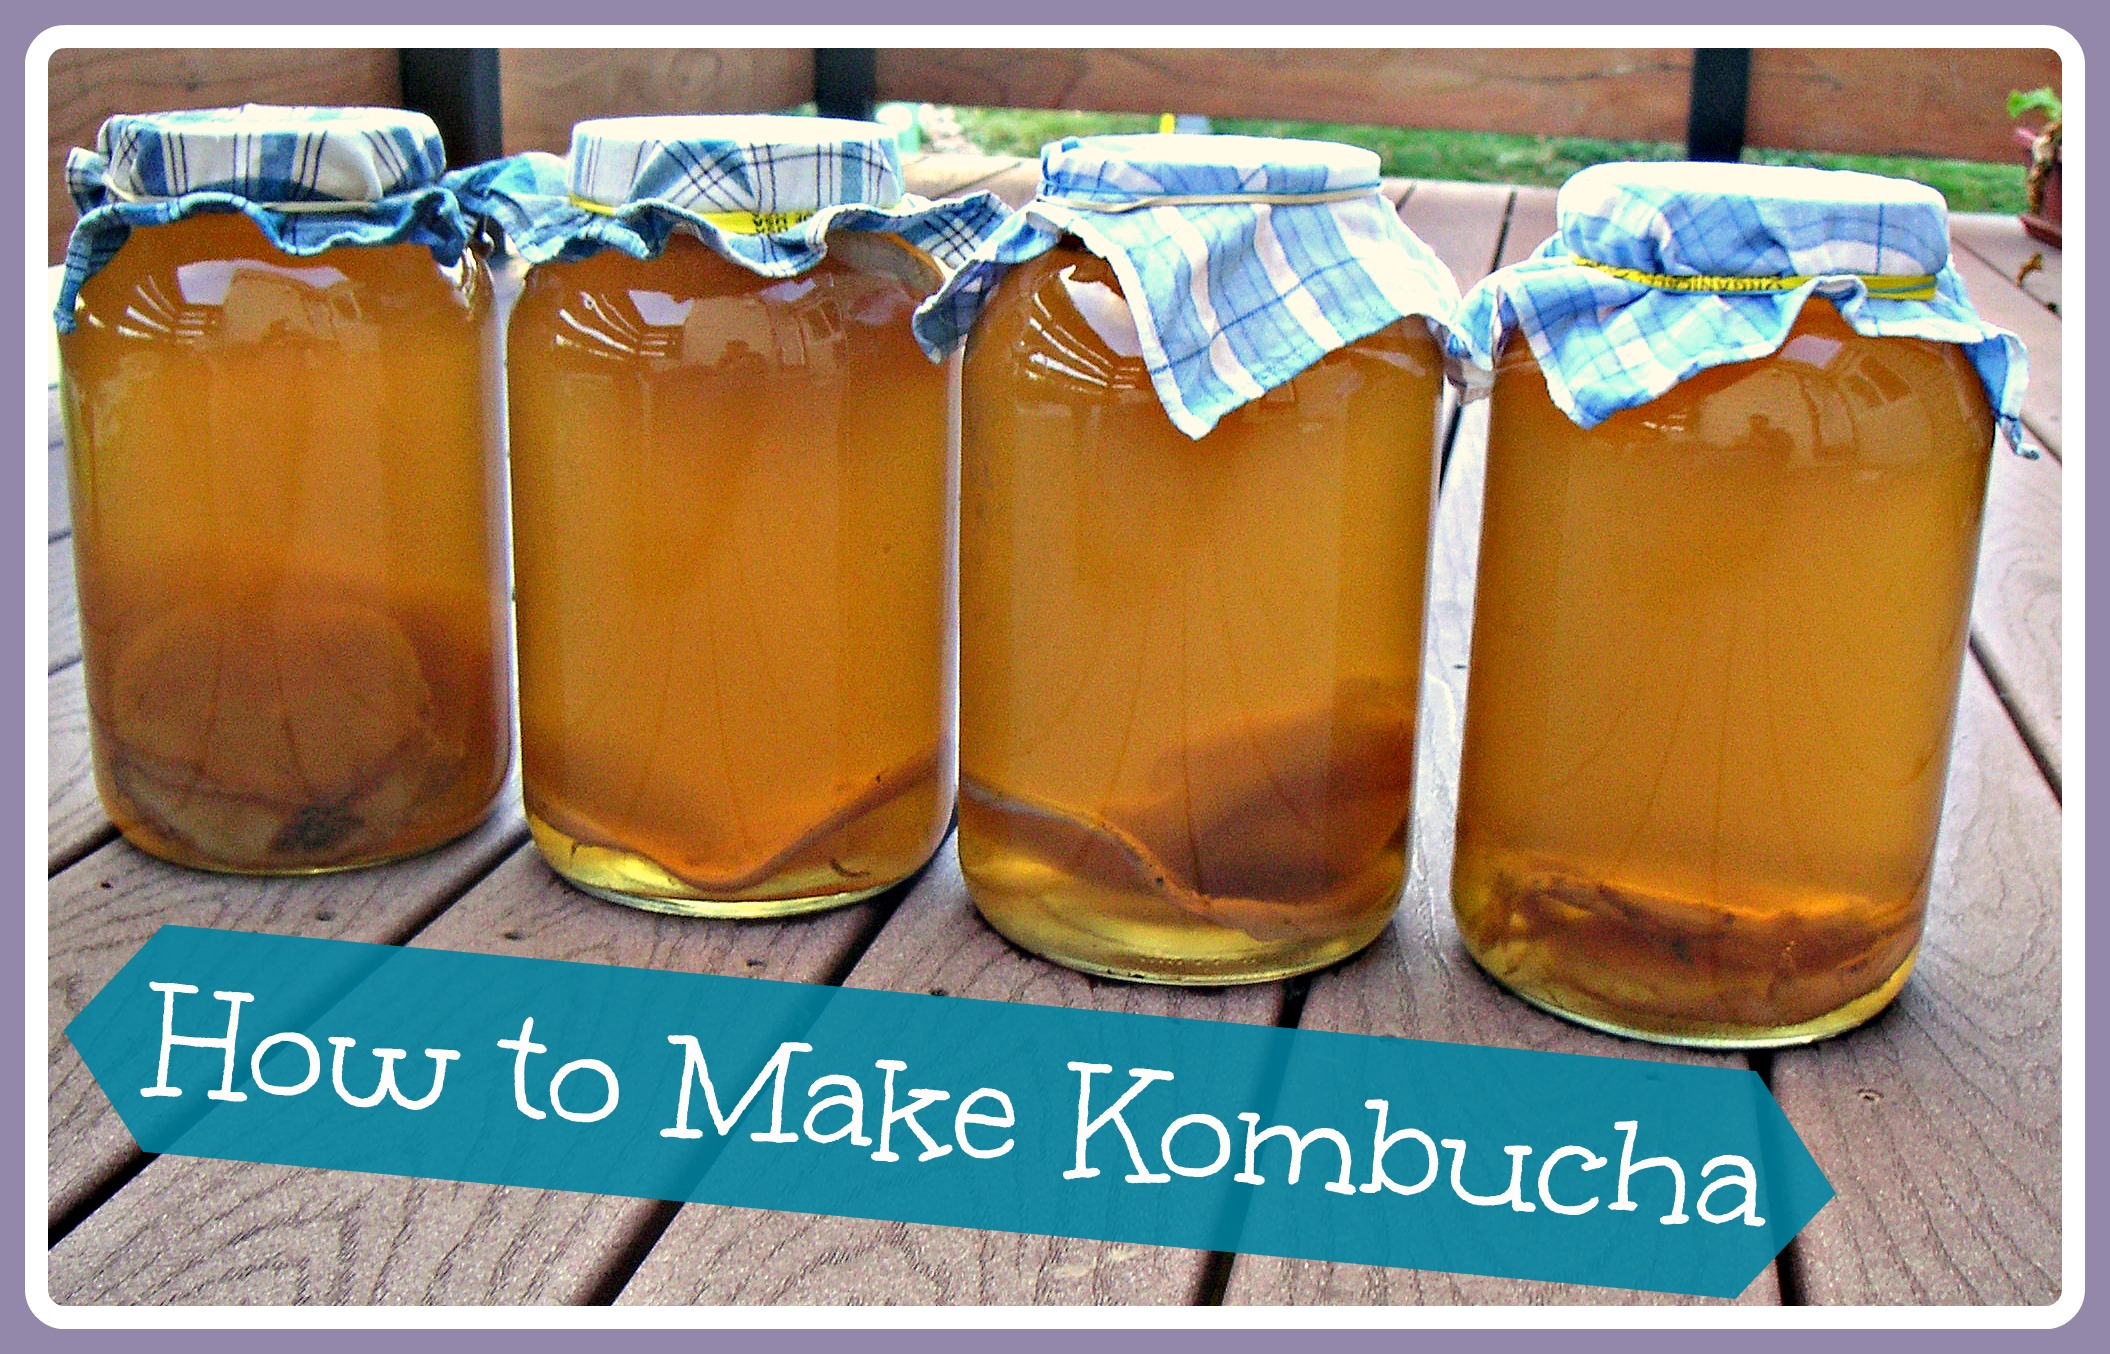
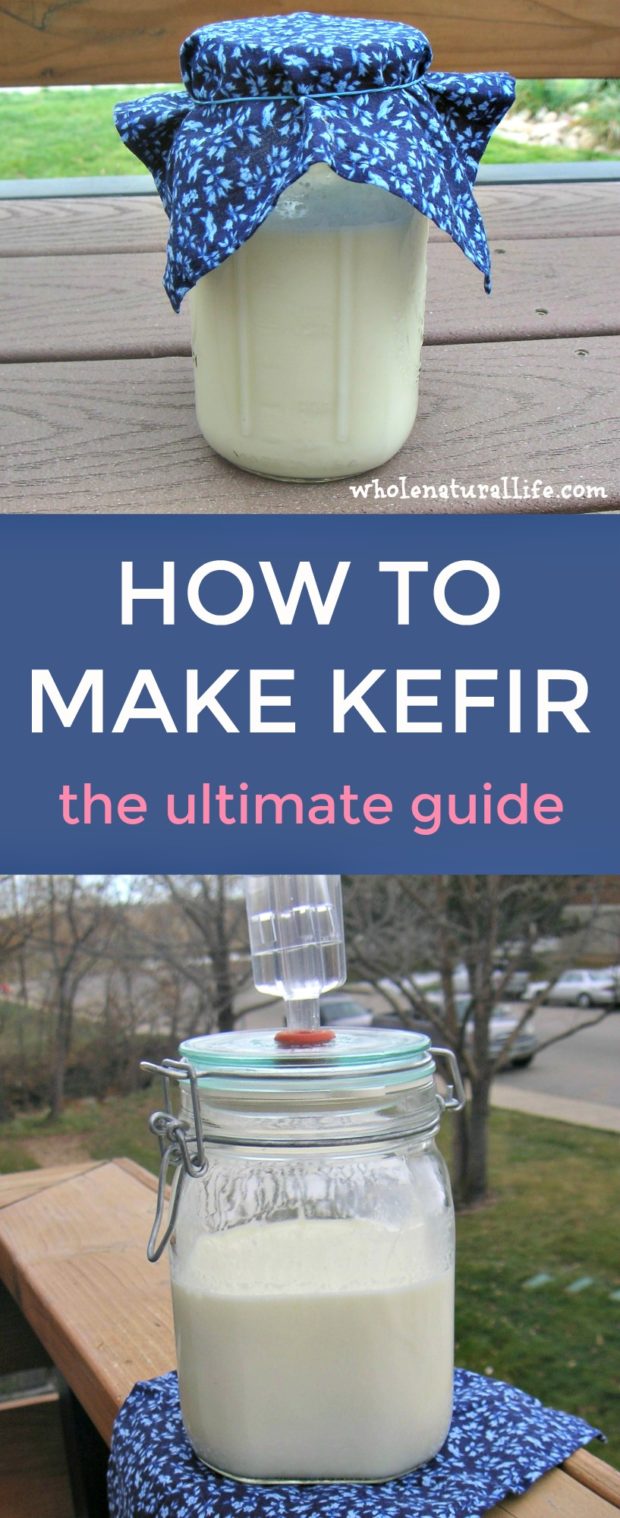
Be sure to check out my posts on how to make milk kefir, how to make water kefir, and how to make kombucha.
If you’re already a kombucha lover, you’ll also enjoy my recipes for strawberry kombucha, raspberry kombucha, and strawberry lemon kombucha!