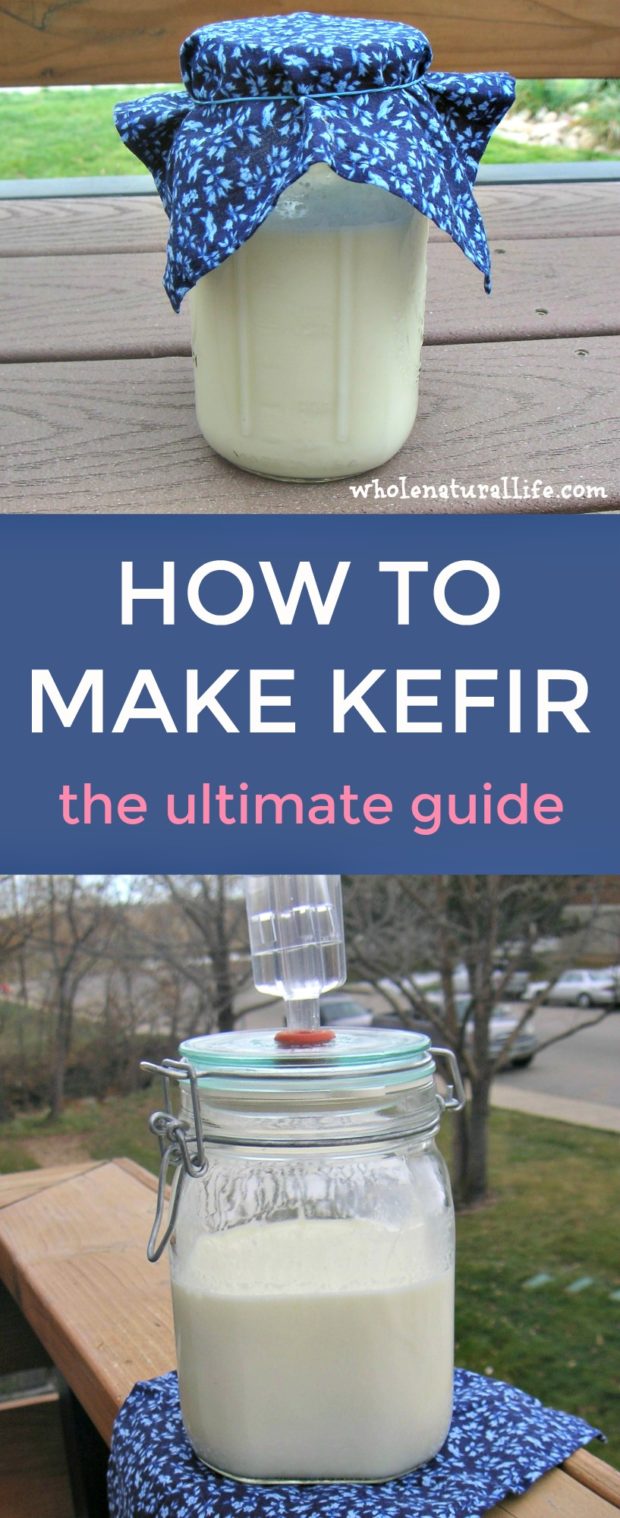
Are you interested in learning how to make kefir at home?
Well, you’re in the right place. 🙂 I’ve been making homemade milk kefir nearly every day for the past few years, so I consider myself a bit of a kefir expert at this point. Making your own kefir may seem intimidating, but trust me: it’s SO easy.
Contents
- 1 What IS Milk Kefir? And What are Kefir Grains?
- 2 Why Would You Want to Make Your Own Kefir?
- 3 Where to Buy Kefir Grains
- 4 Is Kefir an Anaerobic Ferment?
- 5 Required Equipment for Making Kefir
- 6 How to Eat Homemade Milk Kefir
- 7 How Much Kefir Should You Make Per Day?
- 8 What to Do with Extra Kefir Grains
- 9 Need to Take a Break from Making Kefir?
- 10 Can you Make Dairy-free Kefir?
What IS Milk Kefir? And What are Kefir Grains?
If you’ve landed on this page you probably already know what milk kefir is, but in case you don’t, let me give you a brief intro.
Kefir is a fermented dairy product. It’s similar to yogurt, although kefir has a thinner consistency and is usually drunk rather than eaten out of a bowl. (For more details on the differences between kefir and yogurt, check out my post on kefir vs. yogurt.)
Kefir is produced using kefir grains, symbiotic colonies of yeast and bacteria that feed on lactose, the sugar in milk. Kefir grains look somewhat like little cauliflower florets.
When you add kefir grains to milk, they consume the lactose in the milk, producing a fermented beverage that’s teeming with beneficial bacteria and yeast.
Why Would You Want to Make Your Own Kefir?
While you can buy kefir in the grocery store, making your own kefir gives you complete control over the ingredients you use. I personally prefer to use whole raw milk for my kefir, which I’ve yet to see as an option in a store.
Making your own kefir will also save you a ton of money over buying kefir at the store.
If you are lactose intolerant, making kefir at home also allows you to make a kefir that is virtually lactose-free. This cannot be said of all storebought kefirs, which are often cultured for a shorter amount of time. I am lactose intolerant and have zero problem consuming my own homemade kefir.
Where to Buy Kefir Grains
If you haven’t made kefir before you’ll first need to acquire some milk kefir grains. Depending on where you live, you may be able to get free kefir grains from local kefir-makers. Healthy kefir grains tend to multiply rapidly, so people who regularly make milk kefir are usually happy to share their extra grains with others.
I’ve gotten kefir grains from local real food groups, such as my local Weston A. Price Foundation chapter, and local real food Facebook groups. If you’re not currently a member of any such group, you can look into joining your local Weston Price chapter, or searching Facebook for a nearby real food group. (If you’re in the California Bay Area, I recommend the Real Food Forum!)
If you can’t find any free grains locally you can order milk kefir grains online. I recommend these milk kefir grains. I’ve purchased them a couple of times and have always had great success with them.
If you take good care of your kefir grains they will survive forever, so acquiring/purchasing grains is a one-time, upfront investment.
Is Kefir an Anaerobic Ferment?
For several years I made kefir in a glass jar covered with a breathable cloth and rubber band. A few years ago I switched to making my kefir in anaerobic Fido jars with a Pickl-it lid, because of things I’d read about kefir being an anaerobic process that does best in an airtight environment.
These claims stirred up a ton of controversy and I’m honestly not sure whether anaerobic fermentation is strictly necessary or not. I continue to make kefir in my Pickl-it jars because I already own them and I’m sure that they’re at least not doing me any harm.
If you’re new to making kefir, I’d recommend starting out with regular canning jars; if you decide you want to make kefir a staple of your diet, you can do some research and decide whether you want to upgrade to using Fido jars with Pickl-it lids.
If you do choose to use a Fido jar with a Pickl-it lid, just substitute that equipment for the canning jar and cloth mentioned in the following instructions.
Required Equipment for Making Kefir
2 glass mason jars OR Fido jars
Small piece of cloth and rubber band (to cover your jar) OR a Pickl-it lid
Small silicone spatula, or some other utensil for stirring
Norpro Stainless Steel Wide-Mouth Funnel HIC Nylon Mesh Strainer, 7-Inch
&
Ingredients
- Kefir grains (find kefir grains here)
- Milk (I use raw, organic whole milk but any type of milk will work)
Instructions
- Put your kefir grains into a clean glass jar. How much milk and kefir grains you want to use is up to you – flavor and texture change depending on your ratio of grains to milk. I typically use 2 to 3 tablespoons of grains for about 2 to 2 1/2 cups of milk.
- Add your milk.
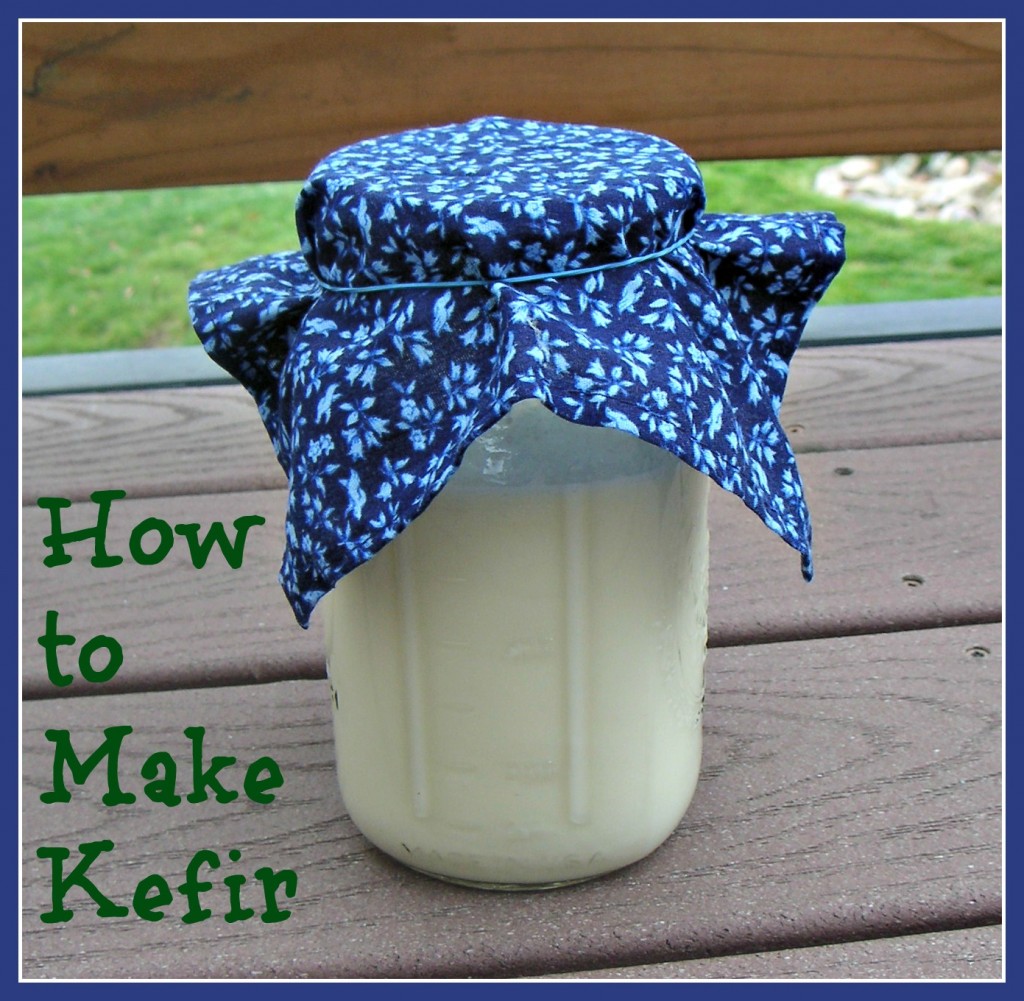
- Cover with a cloth or something breathable to keep fruit flies and other objects out of your jar. Secure the cloth with a rubber band.
- Leave the jar out at room temperature for about 24 hours. If it’s particularly cold in your kitchen, you may want to keep the jar in the warmest spot you can find. Kefir grains like warmth.
- Check the kefir after 24 hours. It should be thickened and starting to separate into curds and whey. If you don’t think it’s done, leave it out for another 12 to 24 hours until it appears finished. My kefir is always done after the first 24 hours, but yours could take longer if your kitchen is particularly cold.
- When your kefir is finished, stir it up in the jar so it’s liquid again, then pour it into a strainer to strain. I use a small plastic strainer set inside a canning funnel over a glass jar. If your strainer is small like mine you’ll have to pour the kefir into the strainer in batches.
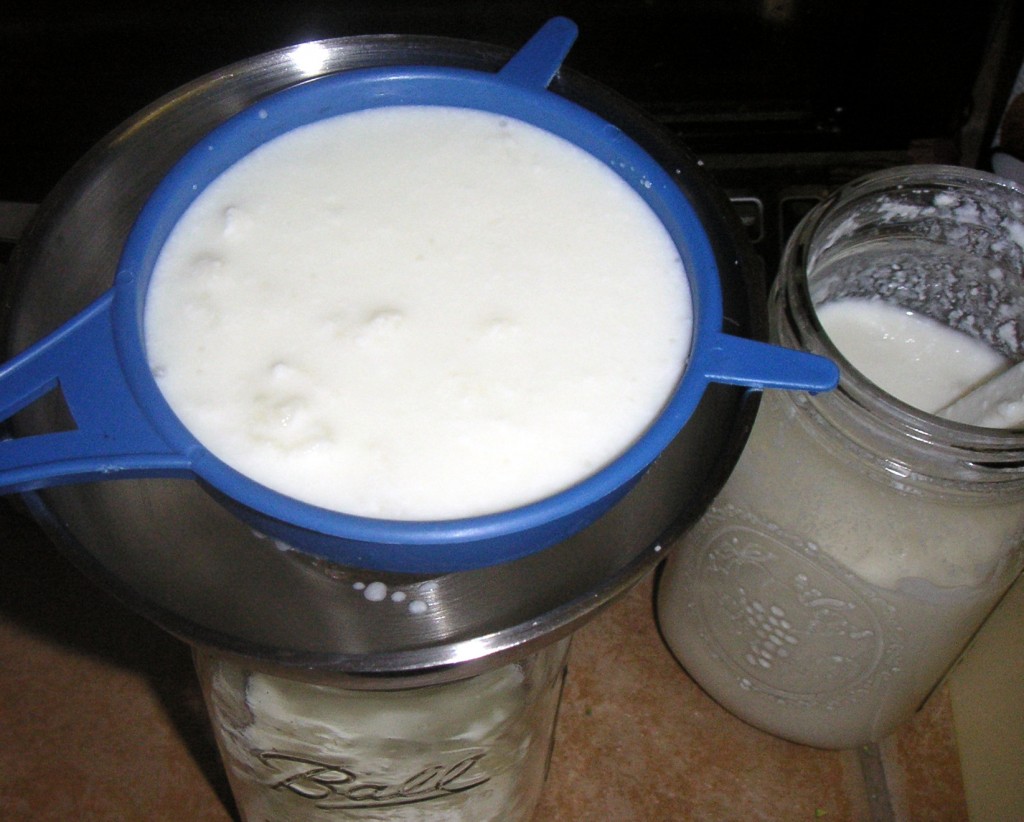
- Gently stir the kefir to encourage it to move through the strainer. When you’re finished, all your finished kefir will be in the jar while your grains will be left in the strainer.
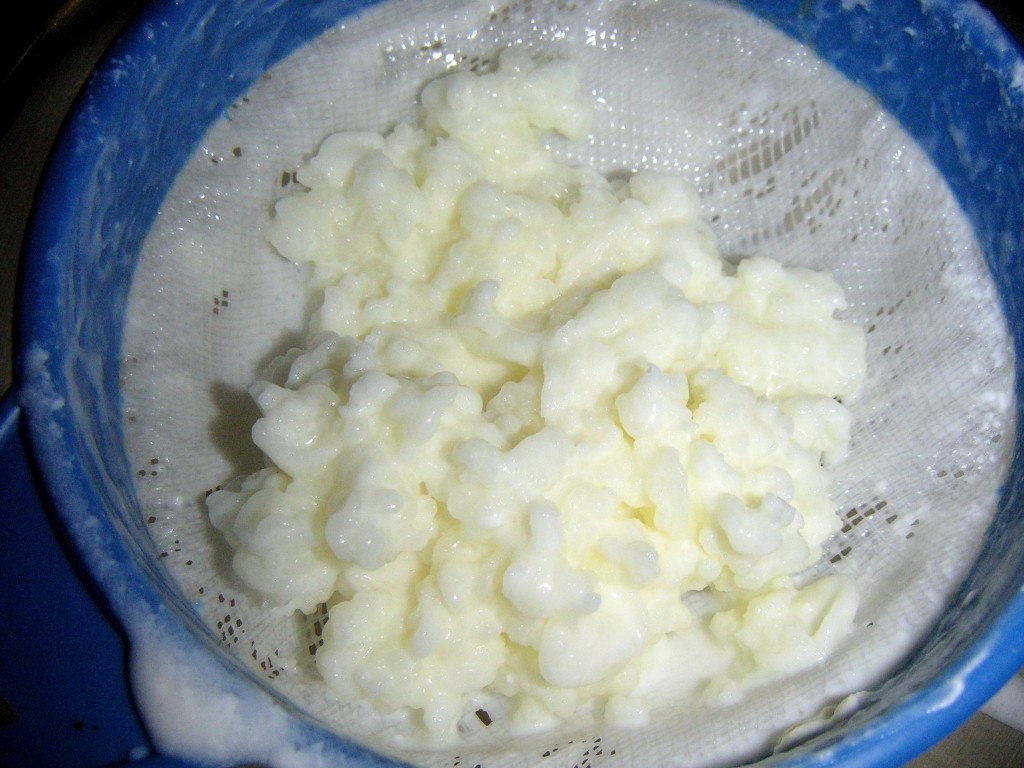
- Put the grains into a new jar and add more milk to start a new batch of kefir. (I reuse my original jar several times instead of starting with a new jar each time, but I’m not sure whether that’s recommended.)
- Store your finished kefir in the fridge. If you want to further reduce the lactose content of your kefir, you can instead store the finished kefir on the counter for a day before transferring to the fridge.
How to Eat Homemade Milk Kefir
There are a ton of different ways to drink your homemade kefir. When I’m feeling fancy, I’ll use it as a base for a fruit smoothie. More commonly, I just add some raw honey or stevia and splash of this orange extract.
I know those ideas are pretty boring, so if you want more inspiration, check out this post on yummy ways to eat kefir from Traditional Cooking School, as well as this post on unusual kefir uses from Homemade Mommy.
How Much Kefir Should You Make Per Day?
Kefir grains thrive best when they are allowed to spend most of their time culturing on the counter.
As a result, you should ideally make kefir every day, and each batch should be only as big as the amount of kefir that you want to drink in a day’s time. You don’t have to drink all of the finished kefir that day (or even the next day–kefir keeps for a long time in the fridge) but homemade kefir isn’t something that you should make a lot of in order to stock up for the future.
If you only want to drink a small amount of kefir every day, I recommend making a small batch every day rather than making a large batch and then storing the grains in the fridge.
What to Do with Extra Kefir Grains
Kefir grains often multiply quickly. If you find yourself with extra grains, give them away to friends, eat them as extra probiotics, or just throw them away in your trash or compost.
Need to Take a Break from Making Kefir?
If you need to take a break from making kefir, put your kefir grains into a jar with fresh milk as usual then store in the fridge. I’ve read that you should ideally store kefir grains for no longer than a week before providing them with fresh milk, but when we’ve been out of town for longer than a week I’ve successfully kept my kefir grains alive by providing them with a lot of milk. Don’t make a habit of this if you can avoid it, though.
Storing your grains in the fridge for too long will weaken you grains and may eventually kill them.
Can you Make Dairy-free Kefir?
Yes, you can make dairy-free milk kefir. This post from Wellness Mama has some good info on making coconut milk kefir, as well as using other dairy-free milks like almond milk and cashew milk.
Since kefir grains are designed to feed off milk sugar, though, dairy-free milks don’t have the right food source to sustain kefir grains long-term, so you will have to regularly revive the grains by returning them to regular dairy milk. As a result, dairy-free milk kefir may not be the best option if you need to strictly adhere to a dairy-free diet.
Keep in mind that homemade milk kefir is already virtually lactose-free, so if you only have an issue with lactose, not dairy in general, homemade milk kefir is probably already fine for you to consume.
If you need to be strictly dairy-free, I’d recommend that you instead look into making water kefir. Water kefir uses different grains from milk kefir, but it’s still an easy process to do in your home.
&
Looking for More Fermented Food Recipes?
If you’re looking for more fermented foods to add to your diet, be sure to check out my posts on how to make kombucha, how to make water kefir, and how to make Instant Pot yogurt. All of these fermented foods will help you get even more beneficial probiotics in your diet.
If you’re on Pinterest, you should also go check out my fermented foods board. I share lots of fermented food recipes from around the web.
STANDARD FTC DISCLOSURE: In order for me to support my blogging activities, I may receive monetary compensation or other types of remuneration for my endorsement, recommendation, testimonial and/or link to any products or services from this blog. Please note, I only ever endorse products that are in alignment with Whole Natural Life’s ideals and I believe would be of value to my readers. Please also note that Whole Natural Life is a participant in the Amazon Services LLC Associates Program, an affiliate advertising program designed to provide a means for sites to earn advertising fees by advertising and linking to amazon.com.

 Save Recipe




148 Responses to The Ultimate Guide to How to Make Kefir at Home