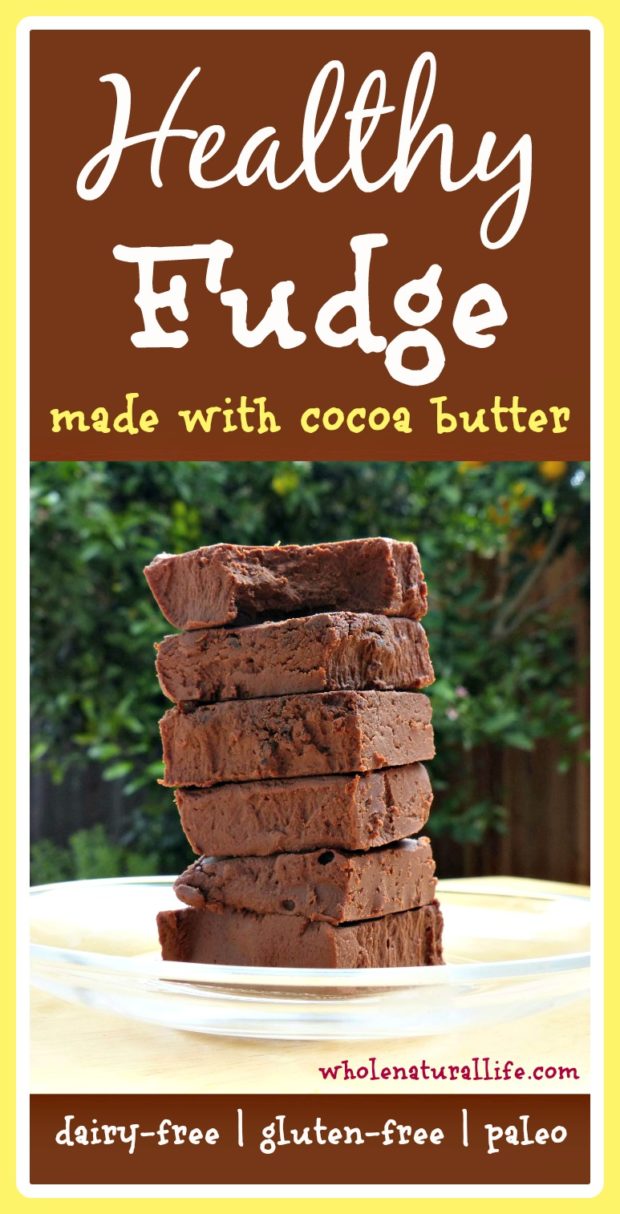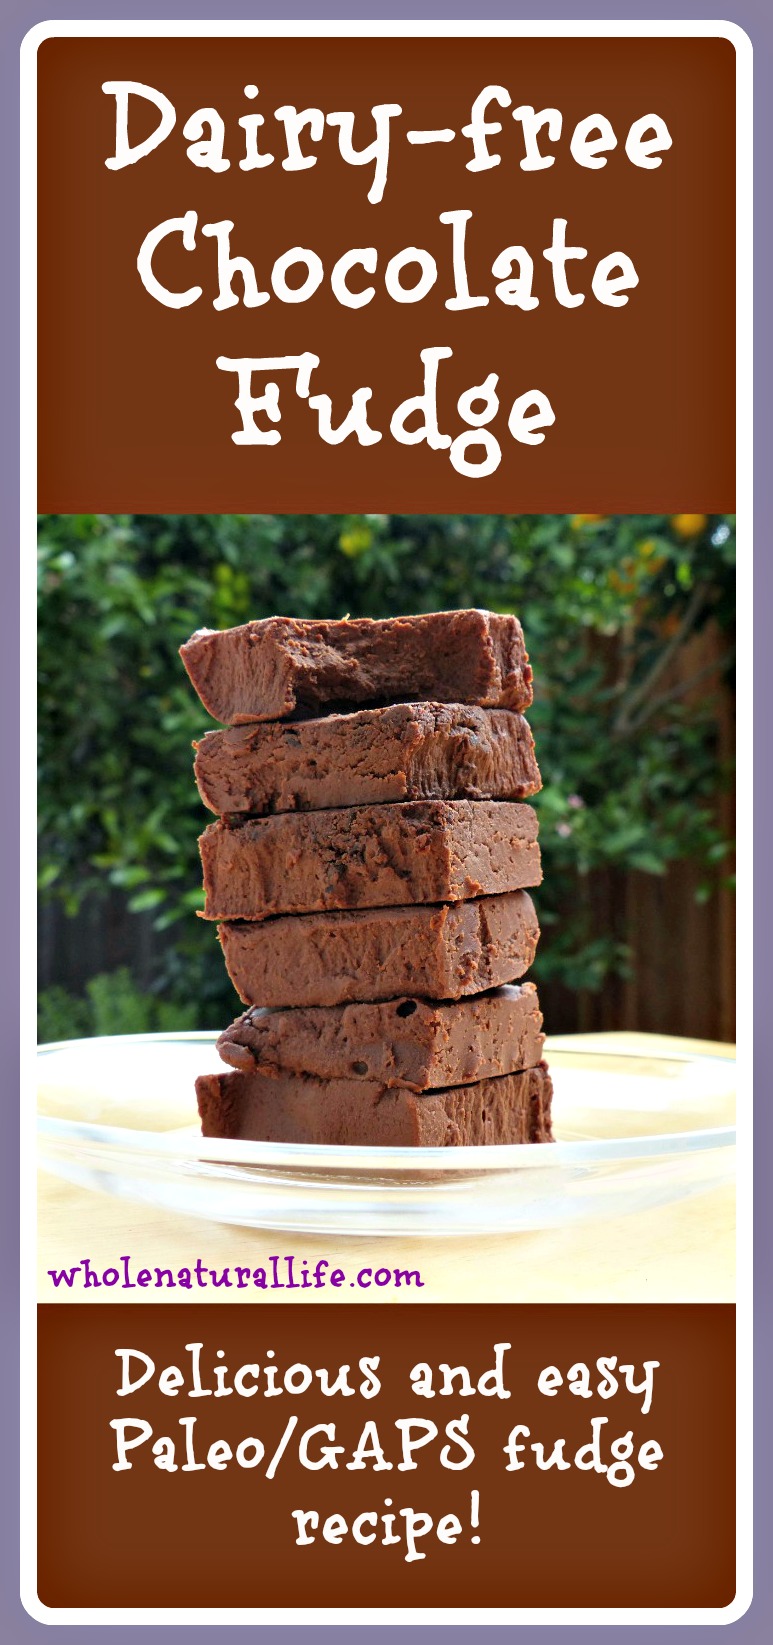
You guys, I have a new dessert obsession: dairy-free chocolate fudge. I was playing around with my homemade chocolate chip recipe, seeing if I could make a version that’s more like milk chocolate. I totally failed at that goal, but instead I discovered something even better: healthy dairy-free fudge!
Now, let me give you my standard disclaimer: I haven’t eaten traditional, white sugar chocolate fudge in many, many years. So my memory may be a bit hazy. From what I do remember, though, this fudge is spot-on. The flavor is chocolatey and rich, and the texture is amazing, dense but crumbly at the same time. If you miss traditional fudge, you’ve got to try this real food version.
This recipe is mainly composed of cocoa butter and cocoa powder, so I don’t think that the flavor is overly coconut-y. I personally can’t detect any coconut flavor in this fudge. As I’ve mentioned before, though, my coconut taste buds are pretty dulled from all the coconut products we eat here, so a coconut hater may or may not find the coconut taste too strong.
Some notes on the recipe:
I’m listing cocoa butter in this recipe, but I actually use cacao butter myself. Either can be used interchangeably in this recipe.
I prefer to weigh my cocoa butter as it’s very difficult to get an accurate volume measurement with big chunks of cocoa butter. If you prefer to use a cup measure, I’ve also included that information–but I highly recommend using the weight instead. You can buy a food scale pretty inexpensively; I have this one and it’s an indispensable tool in my kitchen.
Equipment You’ll Need:
Double boiler and a pan that fits underneath the double boiler
8×8 baking dish lined with parchment paper (can also use a different size, just know that fudge will come out thicker or thinner)
Ingredients
- 168 grams (3/4 cups) cocoa butter
- 3/4 cups cocoa powder
- 1/2 cup coconut milk
- 1/3 cup raw honey
- 2 teaspoons vanilla extract
- A pinch of salt
Instructions
- Melt cocoa butter in your double boiler.
- Once the cocoa butter is completely liquid, remove from heat. Add all other ingredients and use your immersion blender to mix. You might also be able to do this by hand with a whisk, but in my experience a blender does a much better job of emulsifying the honey with the other ingredients.
- Pour fudge into your prepared pan, then transfer to the fridge to cool.
- Once fudge is solid and firm (this usually takes several hours), cut it into bite-sized pieces, or whatever size you prefer.
- Store fudge in the freezer or fridge. If you’re going to eat it within three days or so, it’s fine to keep it in the fridge, but since coconut milk is perishable, I would store it in the freezer for longer-term storage. I find that I like the texture out of the freezer just as much, but you can experiment to see what you prefer.
STANDARD FTC DISCLOSURE: In order for me to support my blogging activities, I may receive monetary compensation or other types of remuneration for my endorsement, recommendation, testimonial and/or link to any products or services from this blog. Please note, I only ever endorse products that are in alignment with Whole Natural Life’s ideals and I believe would be of value to my readers. Please also note that Whole Natural Life is a participant in the Amazon Services LLC Associates Program, an affiliate advertising program designed to provide a means for sites to earn advertising fees by advertising and linking to amazon.com.

 Save Recipe


5 Responses to Healthy Dairy-free Fudge