There are many different ways to make yogurt. As long as you fulfill a few conditions, how you want to actually implement the process is largely up to you. Today I want to share my favorite method: making yogurt in my dehydrator. Although making yogurt is one of those things that can seem really intimidating (it was for me, at least!), once you get the hang of it it’s really a simple process.
This recipe is specifically for “GAPS yogurt.” All that means is that the yogurt is fermented for twenty-four hours in order to give the bacteria enough time to consume all of the lactose in the milk. If you don’t need lactose-free yogurt, feel free to ferment your yogurt for a shorter period of time.
Here is my basic method, followed by a few notes to explain why I do particular things the way I do.
Equipment You’ll Need
Stockpot large enough to fit jars
Ingredients
- (Slightly less than) 1 gallon of whole milk
- Powdered yogurt starter (I use Yogourmet) or 1/2 cup plain store-bought yogurt to use as starter (check to make sure it is free of GAPS-illegals)
Instructions
- Pour the milk into four clean, quart-sized mason jars, leaving a couple of inches of airspace at the top of each jar.
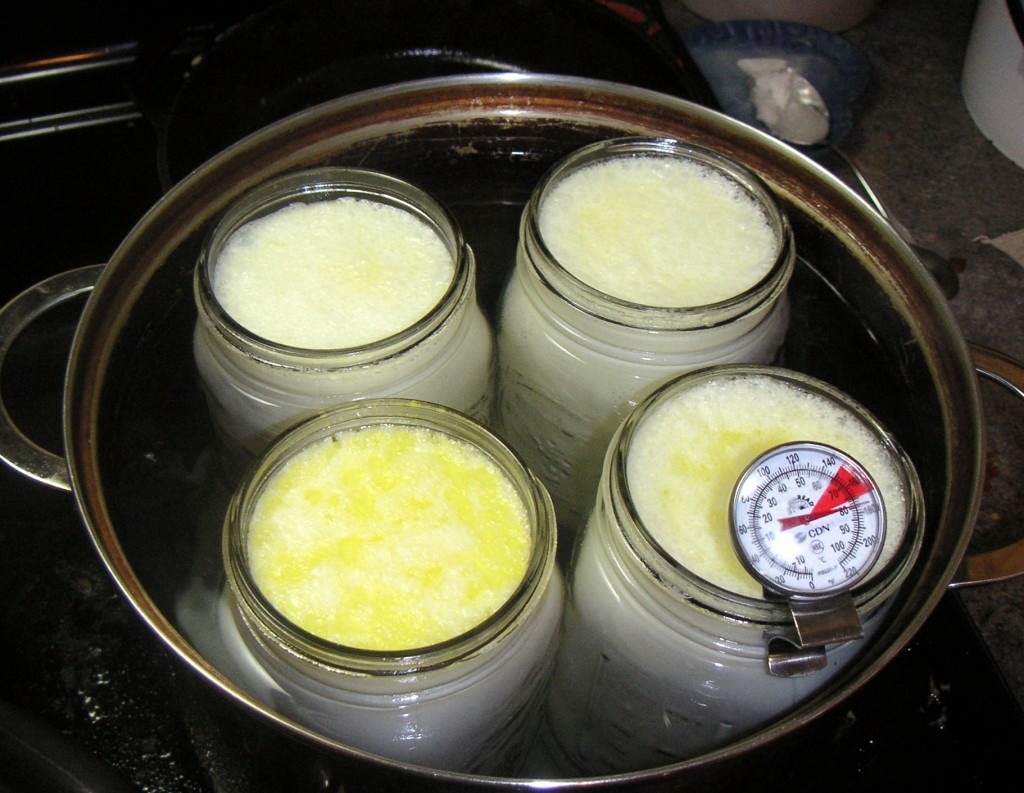
- Line the bottom of a stockpot with a dishcloth or small towel. (This helps keep the jars from rattling.) Place jars into the stockpot.
- Fill the stockpot with water until the water level is a few inches beneath the rim of the jars. Clip a thermometer to the side of one of the jars so you can measure the temperature of your milk.
- Heat the pot over medium heat until the water is boiling, then turn it down to a simmer. Continue heating until your milk reaches 180 degrees Fahrenheit.
- Remove the jars of milk from the pot and allow them to cool on the counter. If you're busy and don't want to deal with the milk for an extra long time, you can slow the cooling process by leaving the jars to cool in the hot water.
- Check on the milk regularly until it cools down to about 110 degrees Fahrenheit. If you're using yogurt as your starter, add two tablespoons of yogurt to each quart of hot milk. Stir each jar well to combine the starter yogurt with the milk.
- If you're using a powdered yogurt starter, spoon out a tablespoon or so of hot milk from one jar into a smaller jar. Add your powdered yogurt starter to the smaller jar. (Consult the package of the powdered starter to find out how much starter for one quart of yogurt.) Stir the milk and starter vigorously to dissolve the powdered starter. Add the milk/starter mixture back to the jar and mix to combine. Repeat for the next three jars.
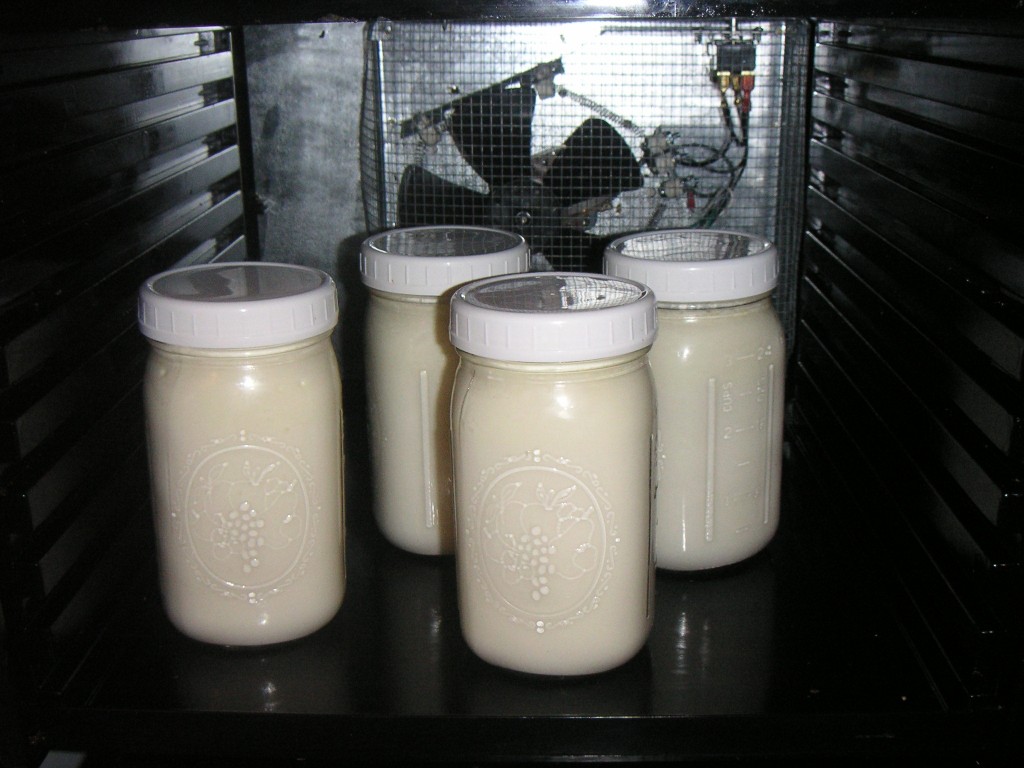
- Cap jars, then place them into your dehydrator. Set the dehydrator at 115 degrees. Allow the yogurt to culture in the dehydrator for twenty-four hours.
- After twenty-four hours have elapsed, remove jars from dehydrator and store in the fridge.
Notes
Although this recipe makes a gallon of yogurt, you can really make as much or as little as you want. I like to make a gallon at once so I don’t have to repeat the process for a while.
I buy organic, grass-fed, non-homogenized whole milk for this recipe. Raw milk would also work, but I pay $13.20/gallon for raw milk here so I only use it for my kefir. Any other type of commercial milk will work as well, of course, but I’d see if you can possibly find/afford grass-fed milk as your yogurt will have a lot more nutrients than if you make it with grain-fed milk.
If for whatever reason you don’t want to heat your milk in jars, you can simply heat it in a pot instead. I prefer the jar method because you don’t have to stir the milk while’s it heating to prevent it from adhering to the bottom of the pot. (In my experience that stuck on milk is ridiculously hard to clean off.)
I’m not really sure how long the pre-incubating part of this process takes as I’ve never actually measured it. I find it works well to work on something else nearby while heating and cooling the milk so that I can check on everything periodically, but for the most part you won’t need to devote your full attention to the process.
I don’t know if dehydrators vary in temperature at all, but to be safe you may want to take some extra precautions if you’ve never used your dehydrator for yogurt before. I’d recommend sticking a thermometer in your yogurt a few times while it’s culturing to make sure that the temperature is right. The yogurt needs to be between 90 and 110 degrees for incubation to occur.
Eating Your Yogurt
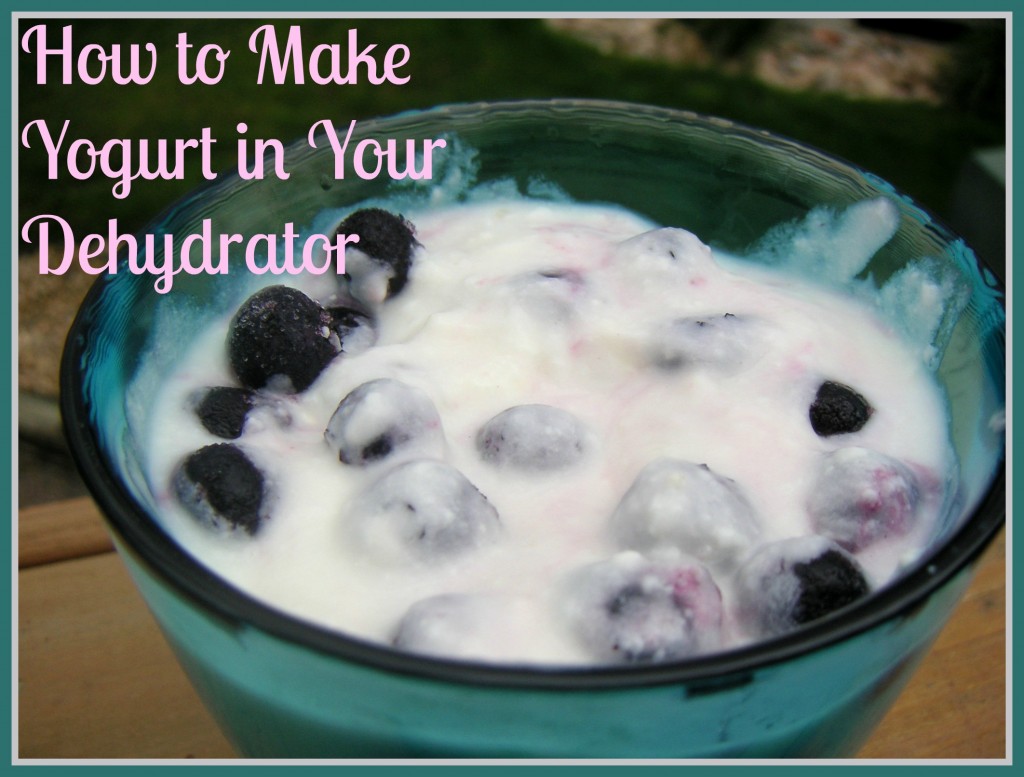
Our favorite way to eat yogurt is topped with some frozen blueberries or other frozen fruit. (Fresh fruit would probably also be delicious, but we like the frozen fruit because it gives the whole thing an icy texture.) You can also add it to a smoothie or just eat it plain.
Still Scared to Try Making Yogurt?
If you still feel intimidated about making yogurt, I highly recommend checking out Kitchen Stewardship’s yogurt post. Her highly detailed notes and pictures were what finally got me to start making yogurt even though I was really nervous about the process.
Do you make your own yogurt? What’s your favorite method?
STANDARD FTC DISCLOSURE: In order for me to support my blogging activities, I may receive monetary compensation or other types of remuneration for my endorsement, recommendation, testimonial and/or link to any products or services from this blog. Please note, I only ever endorse products that are in alignment with Whole Natural Life’s ideals and I believe would be of value to my readers. Please also note that Whole Natural Life is a participant in the Amazon Services LLC Associates Program, an affiliate advertising program designed to provide a means for sites to earn advertising fees by advertising and linking to amazon.com.


 Save Recipe


13 Responses to How to Make Lactose-Free Yogurt in Your Dehydrator